DirectX Raytracing
During my internship at DAE Research, I got the opportunity to research and work with DirectX 12 and real-time raytracing.
This project is available on GitHub: https://github.com/SeppahBaws/DirectX-Raytracing.
The rendering research group at DAE Research, lead by Matthieu Delaere, is focused on state-of-the-art real-time rendering techniques in hybrid rendering pipelines. It focuses on DirectX 12, and DXR for the raytracing part. The research group also investigates optimization techniques, to maintain interactive frame rates.
Some of the currently running projects specific to video games are:
- large scale dynamic environments
- user-created content
- dynamic global illumination
- optimization techniques such as load balancing, temporal reprojection, and variable rate tracing
The main project I worked on during my internship, was about implementing adaptive sampling in a real-time raytracing application.
The concept of adaptive sampling is to reduce noise in the final image, by tracing more rays for each pixel. Of course, tracing more rays requires more compute power, which isn’t always possible if we want to maintain interactive framerates.
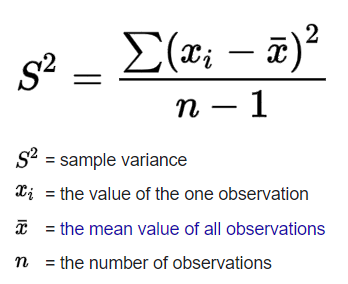
This is why we calculate the variance before each time we trace more rays. If the variance is low enough, we know tracing additional rays won’t contribute much more to the final image and we can stop tracing more rays for this pixel.
The variance is calculated using the formula below:
To save time setting up a DirectX 12 application, I started from the MiniEngine framework. It allowed me to quickly set up an application with DirectX 12 so that I could simply hook in the raytracing part.
Implementation
In the first pass, we raytrace all the effects at 1 ray per pixel.
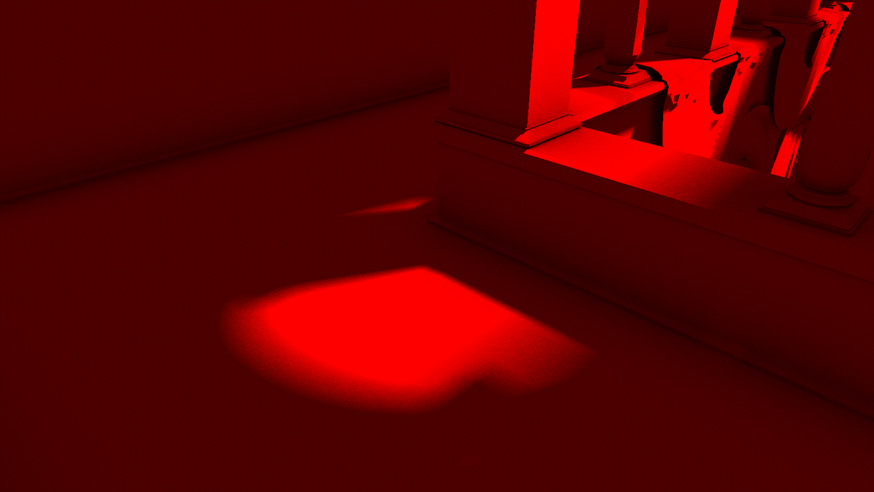
Next up, we pick out all the noisy pixels. To do this, we calculate how much a pixel varies from the pixels around it. This value is then output to the texture:
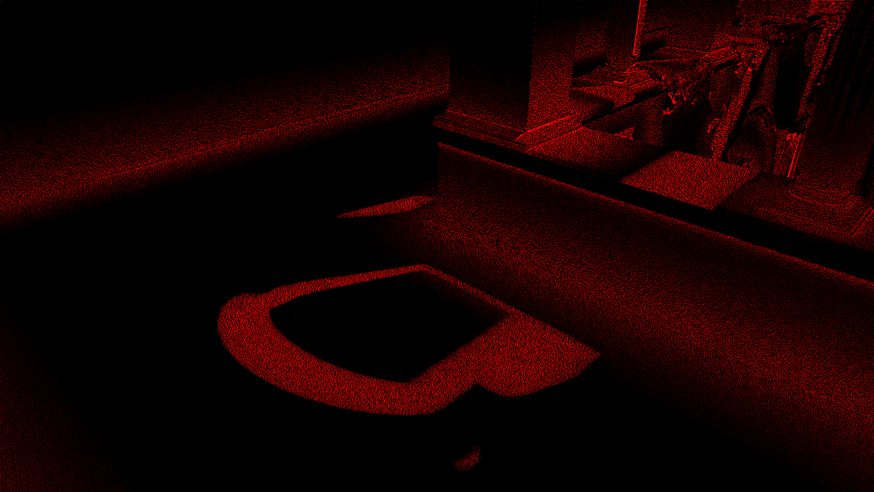
This result is then passed to a “blurring” stage, so we know the general area where noise is. Using this “noise map”, we can discard large parts of the image, because we know that there is no further noise to clean up in those areas.

With the noise map that acts as a mask, we can now trace additional rays. We can control the number of extra rays we trace thanks to the useful engine variables in the MiniEngine.
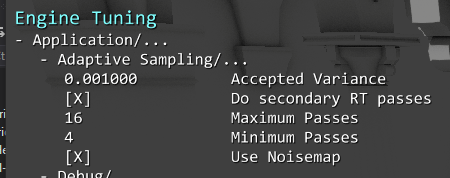
This is the early-out variance check. If the variance is low enough, it will exit out of the ray generation shader, thus not tracing more rays:
// Variance check
// Also check if we have reached our minimum amount of passes yet.
if (g_Dynamic.frameCount != 0 && g_Dynamic.currentPassIdx > g_Dynamic.minimumPassCount)
{
    // output stores the value from the initial RT effects pass
    const float output = g_RTEffects[DispatchRaysIndex().xy].r;
    // previous contains the value from previous frame's RT effects.
    const float previous = g_RTEffectsPrevious[reprojected.xy].r;

    float variance;
    // Make sure we don't divide by 0
    if (g_Dynamic.frameCount > 2)
        variance = pow(output - previous, 2) / (g_Dynamic.frameCount - 1);
    else
        variance = 0;

    // If the variance is low enough, we don't need to trace more rays
    if (variance < g_Dynamic.varianceToleration) // noiseAcceptance defaulted to 0.001f
        return;
}
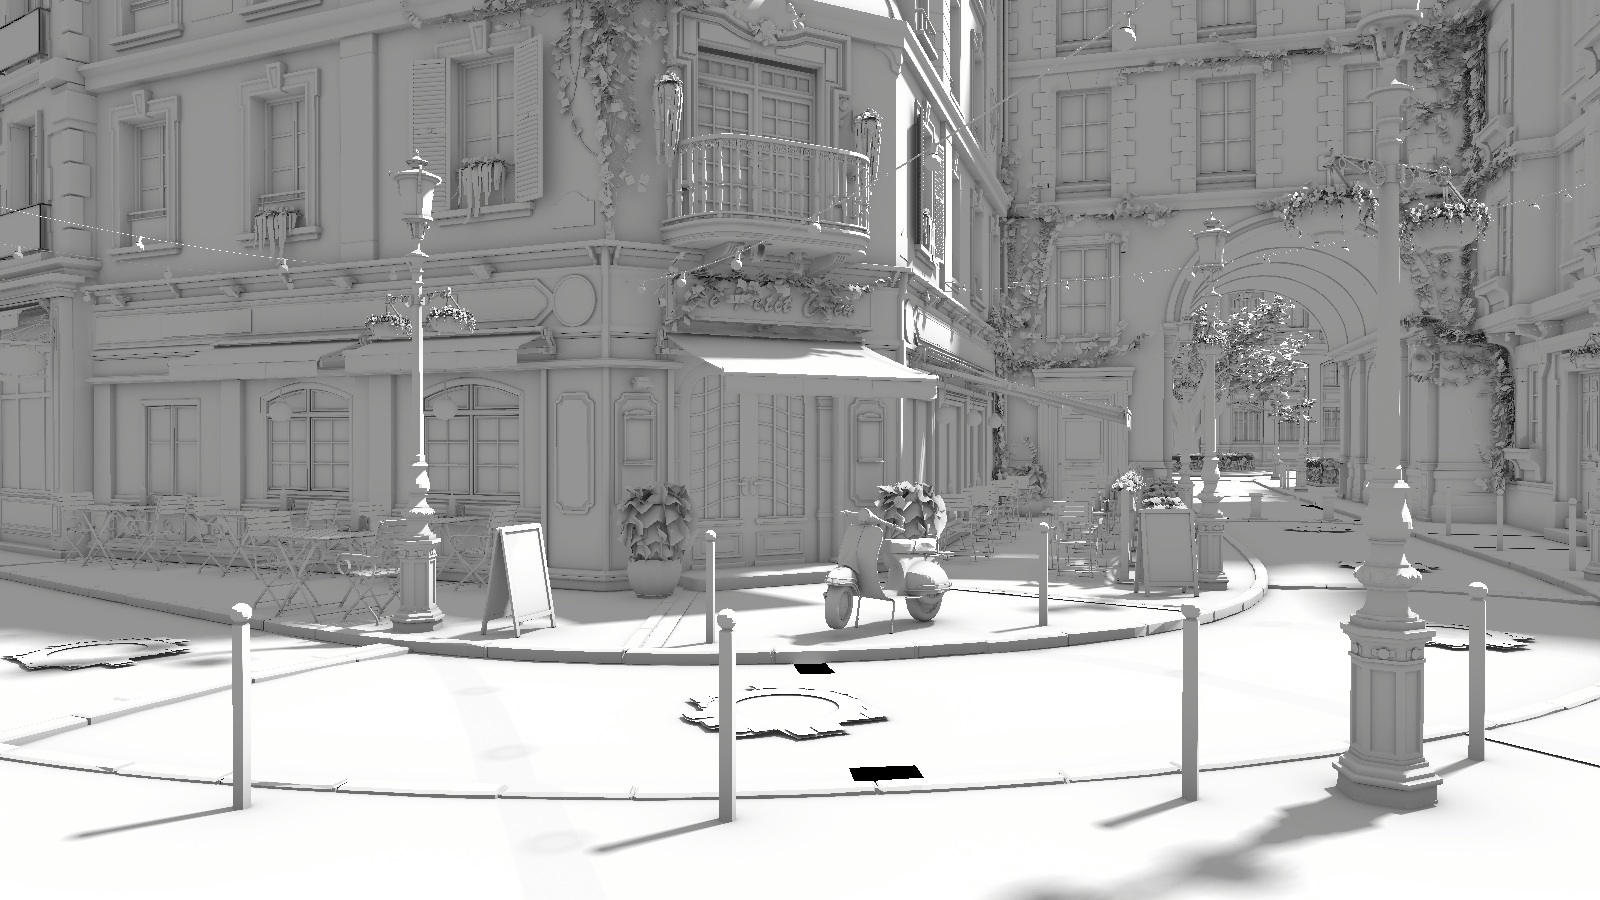
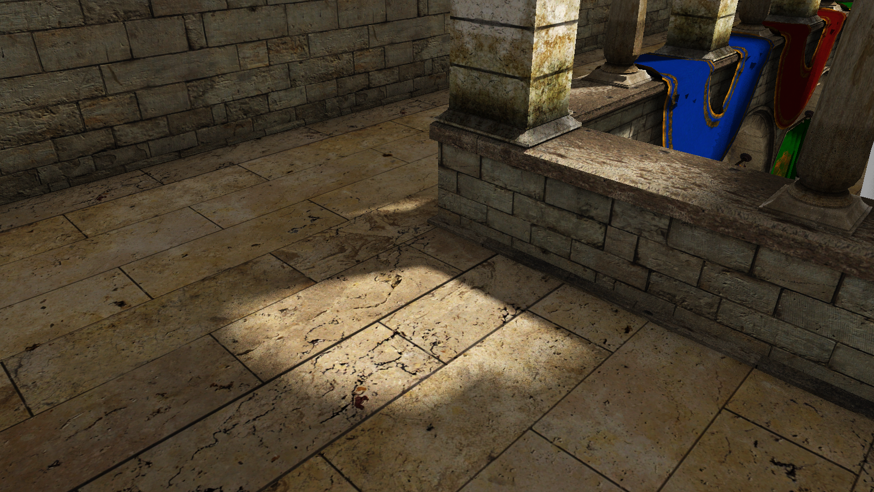
And at last, the final result gets combined with the texture colors from the scene, and we end up with an image that looks something like this:
Assessing Image Quality
I accumulated rays over a total of 1000 frames. The left half of the zoom-in frame is screenshotted quickly after the algorithm was started, while the right half was screenshotted after the 1000 frames had been accumulated.
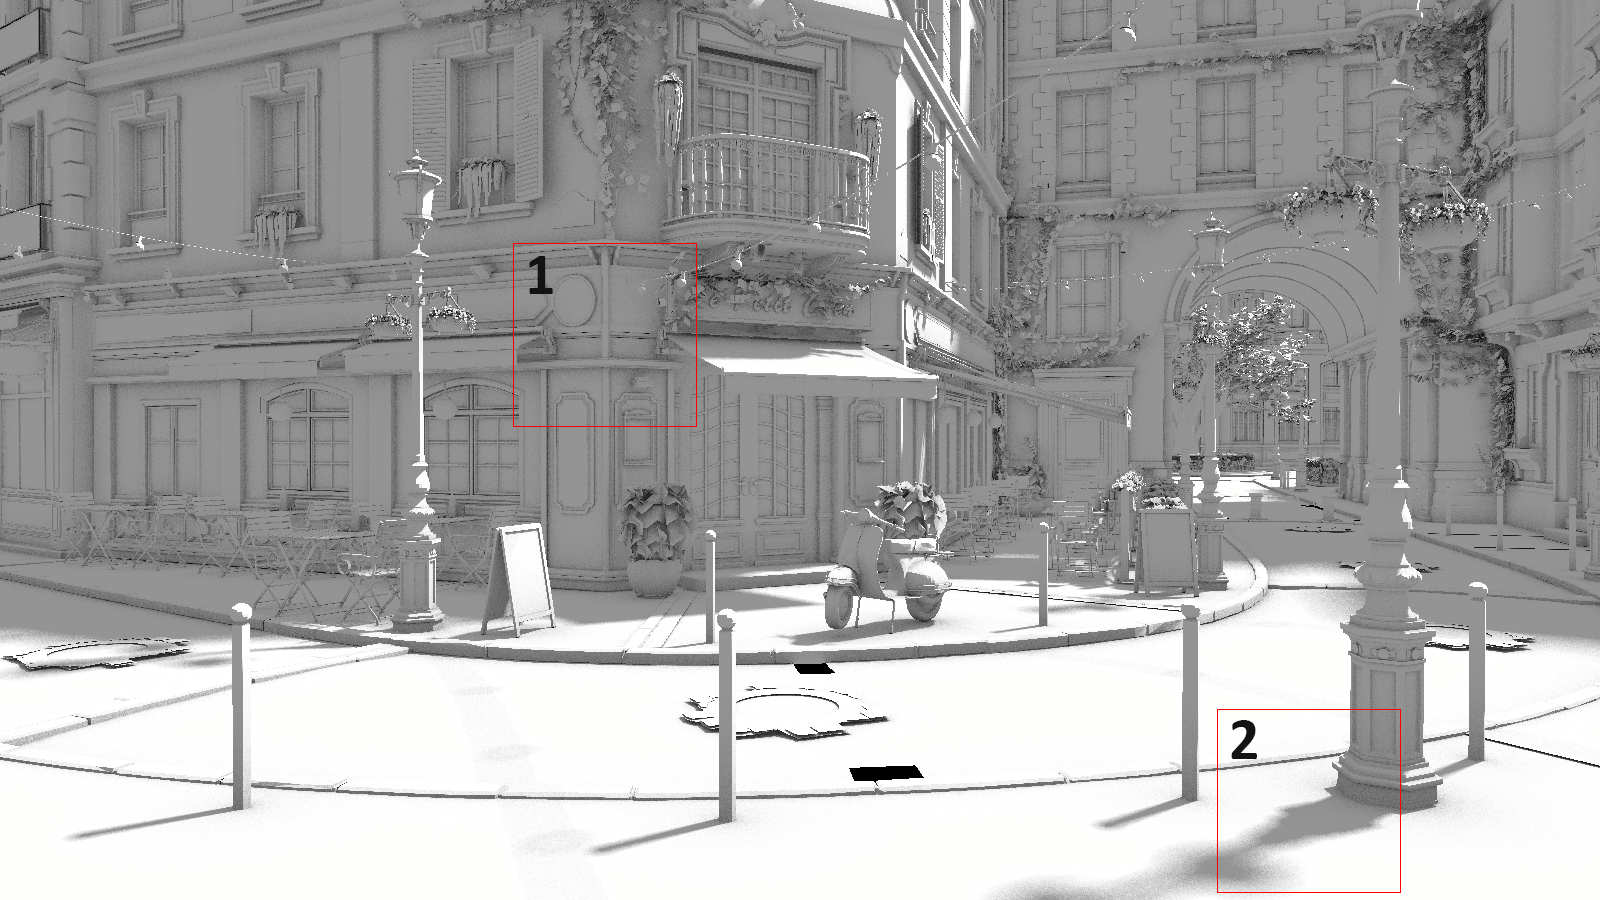

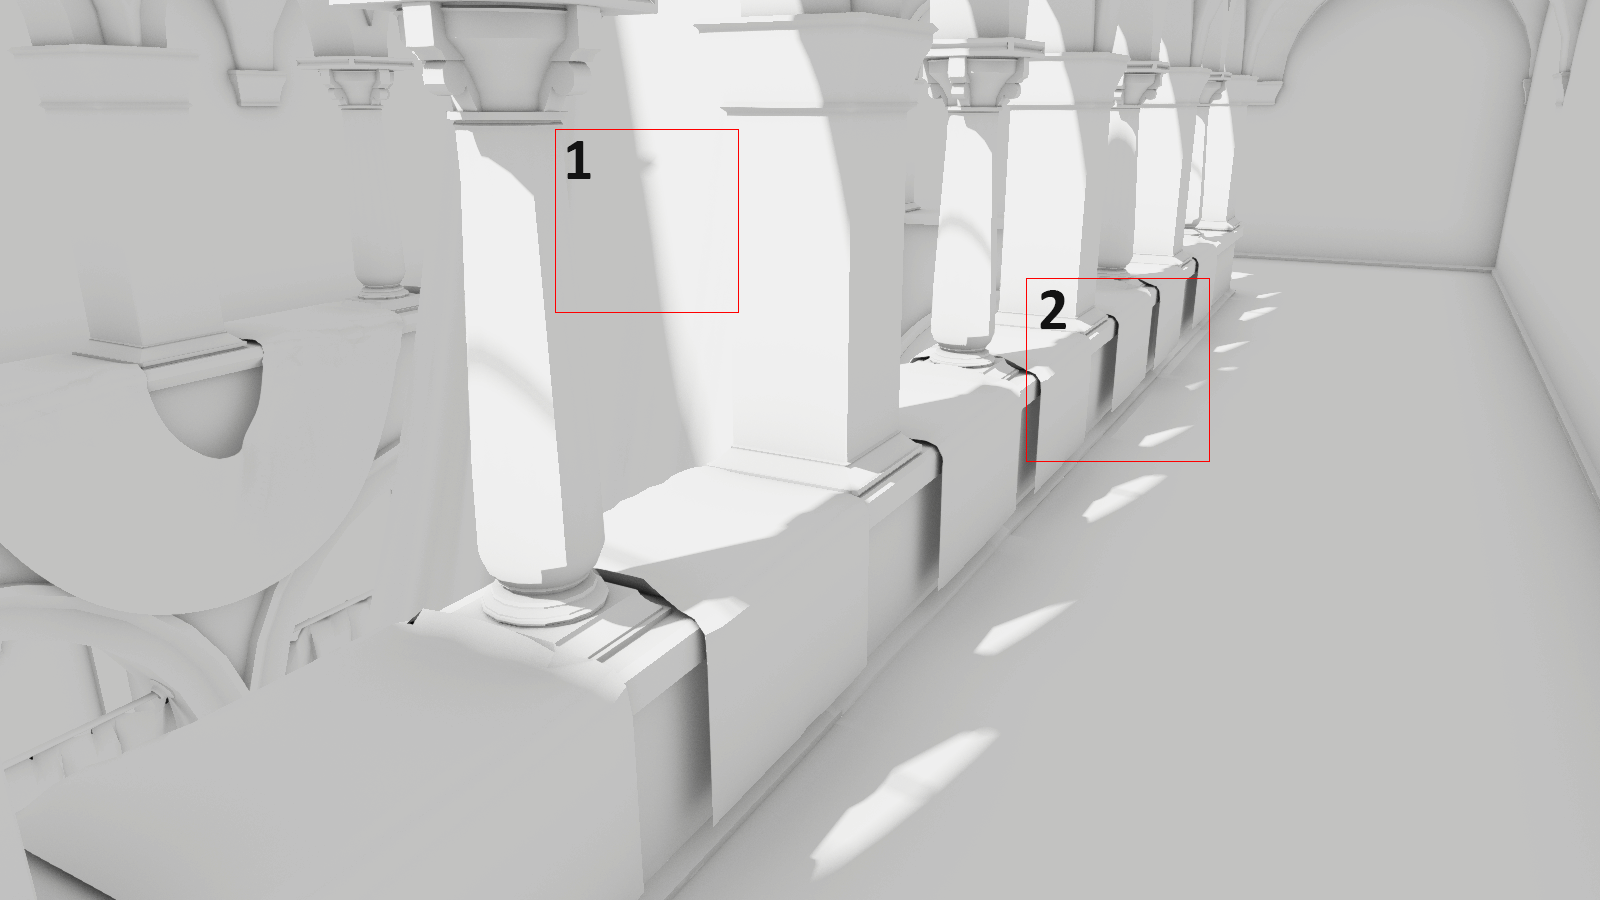

(click to view the full image)
The right half of the image always results in a much cleaner render with a lot less noise, because more rays have been gathered in the right zoom-in.
Performance
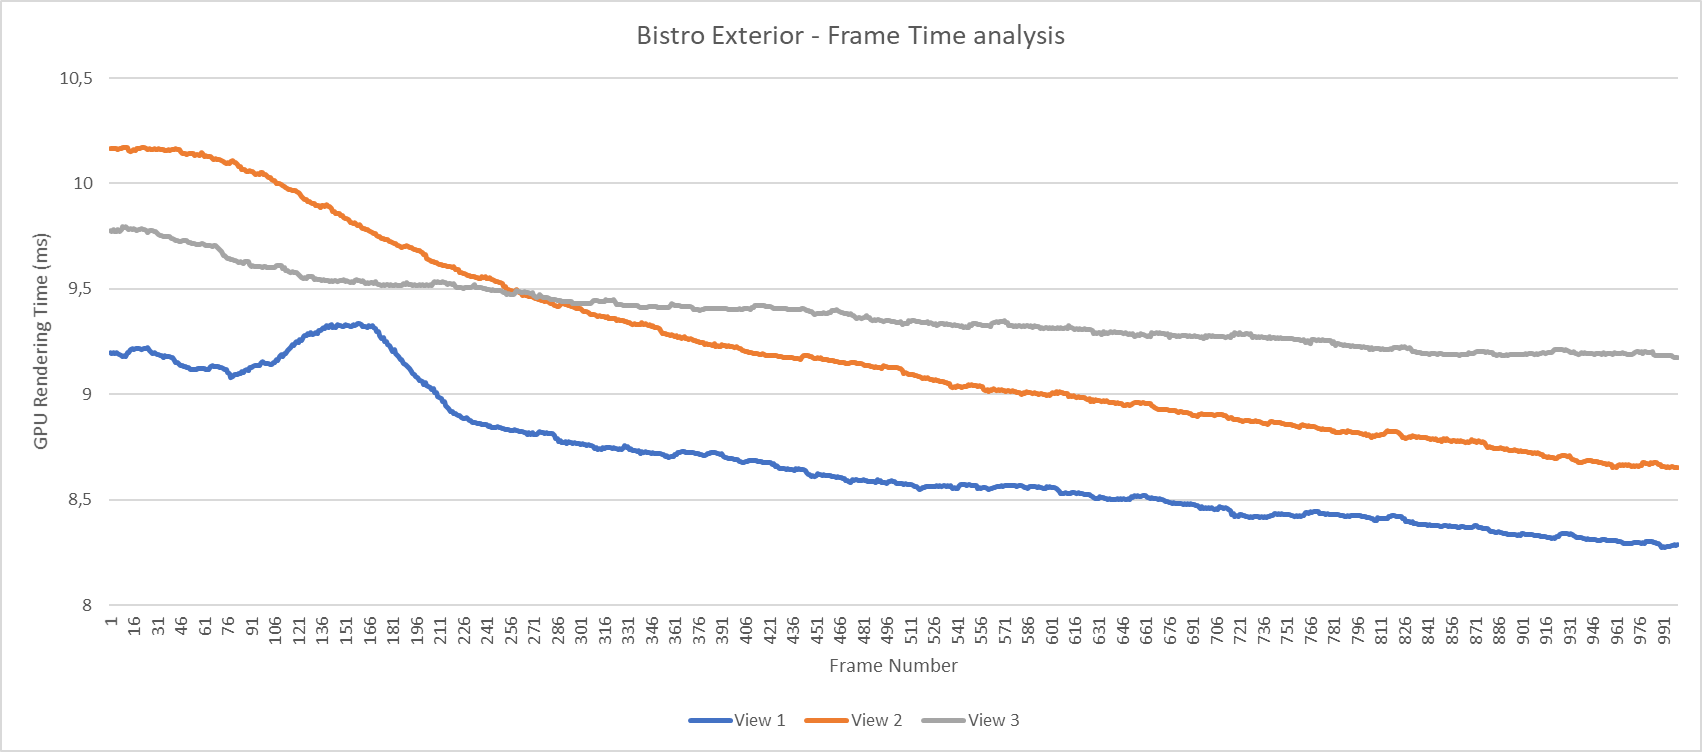
The configuration used for this benchmark:
- minimum RT passes per pixel: 4
- maximum RT passes per pixel: 16
- variance toleration: 0.001
Performance was measured on a machine with an Intel i9-9900k, and a NVIDIA RTX 2080 GPU. Each frame I measured the total GPU time, measuring 1000 frames in total.
Over time as more rays are traced for each pixel, and thus the amount of noise gets reduced, there are fewer noisy pixels that need additional rays to be traced. As you can see, this leads to lower GPU frame time as we render more and more frames.
Media
I had some fun testing out all the different scenes and lighting conditions, here are some of my favorites:
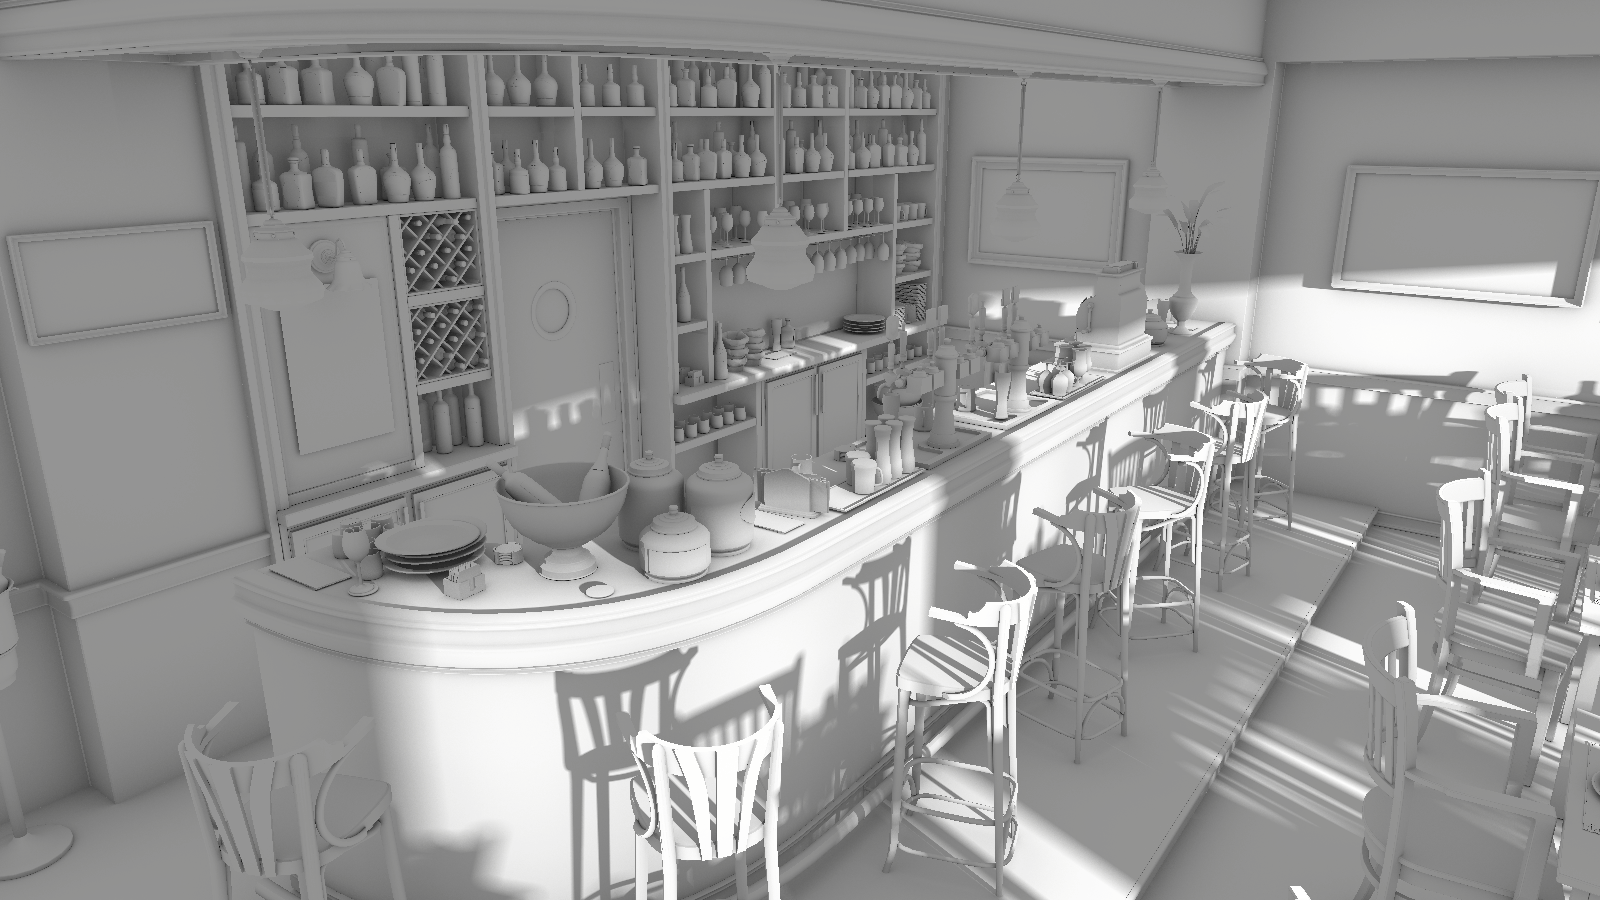
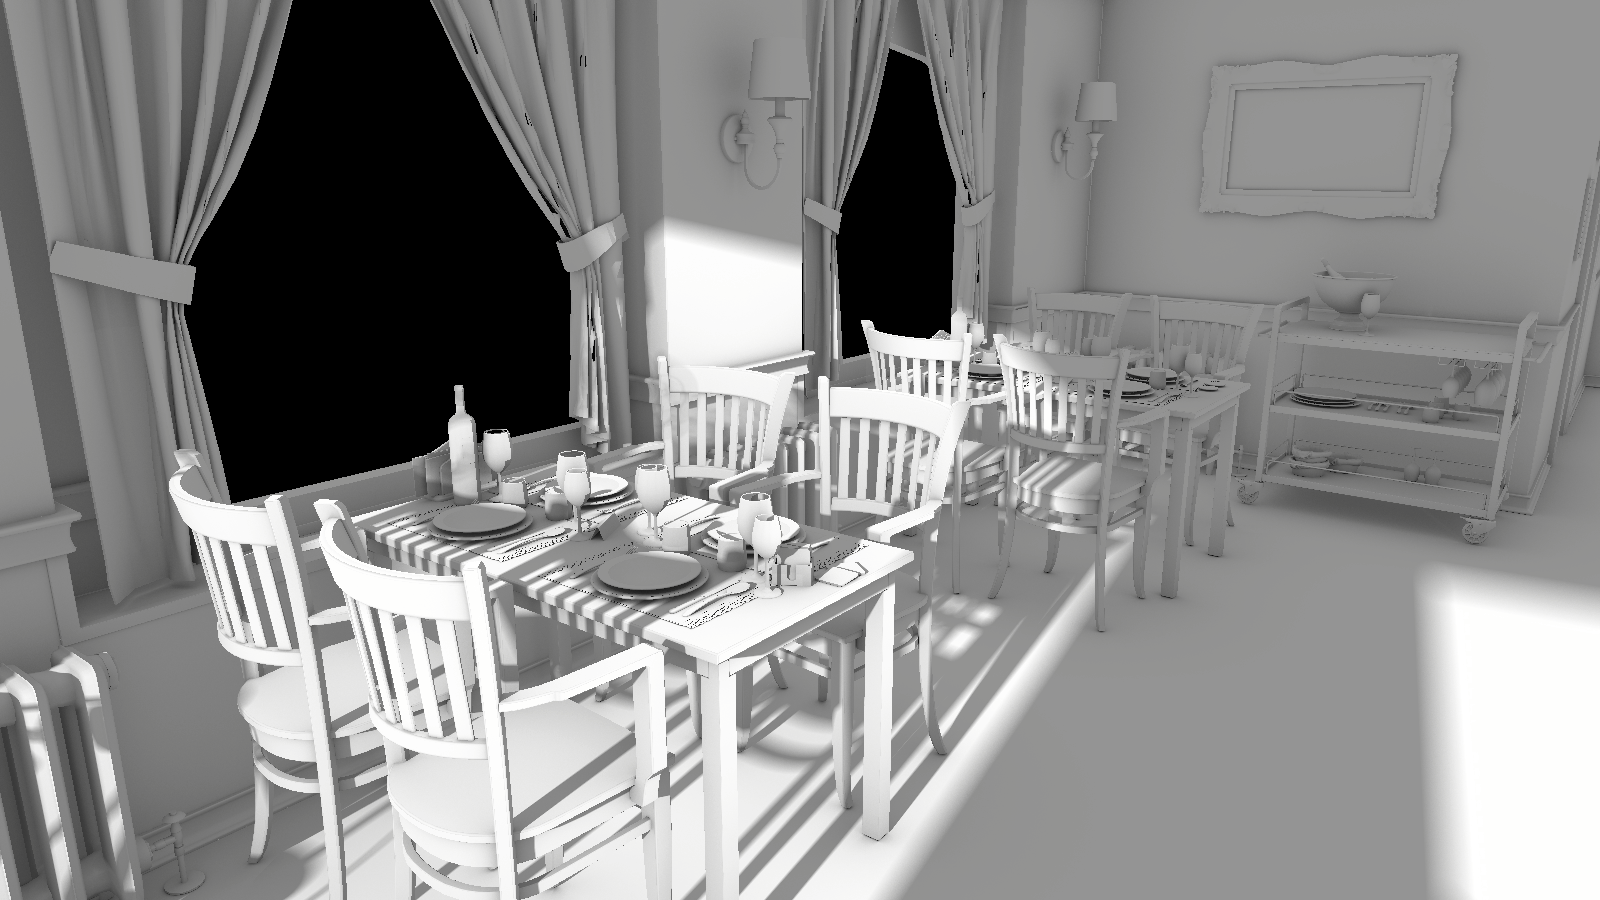
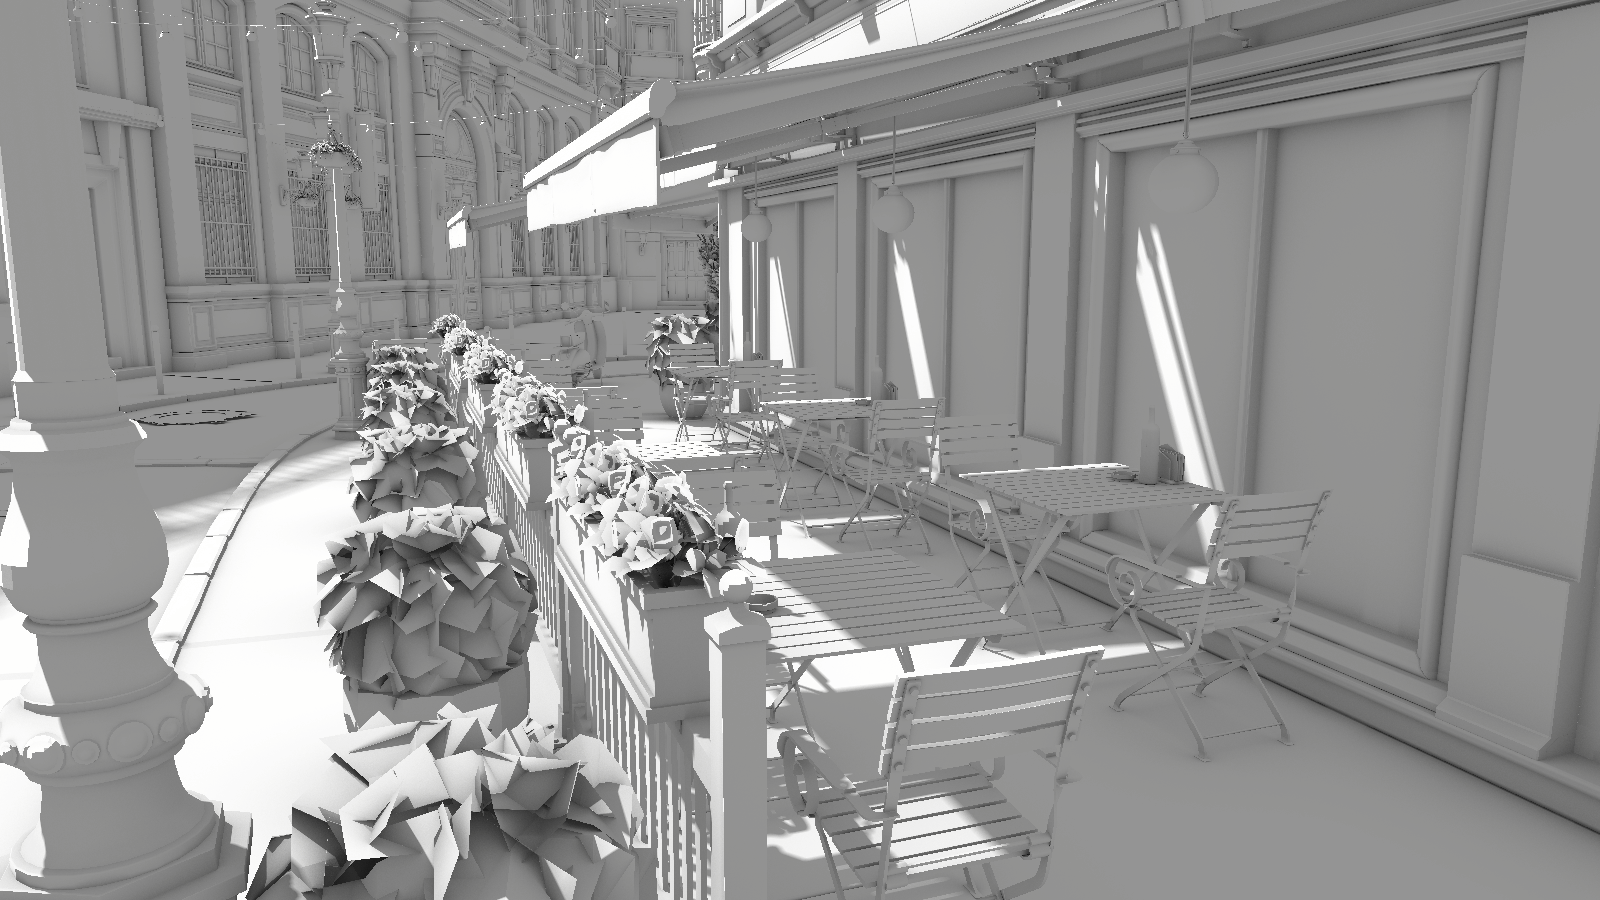
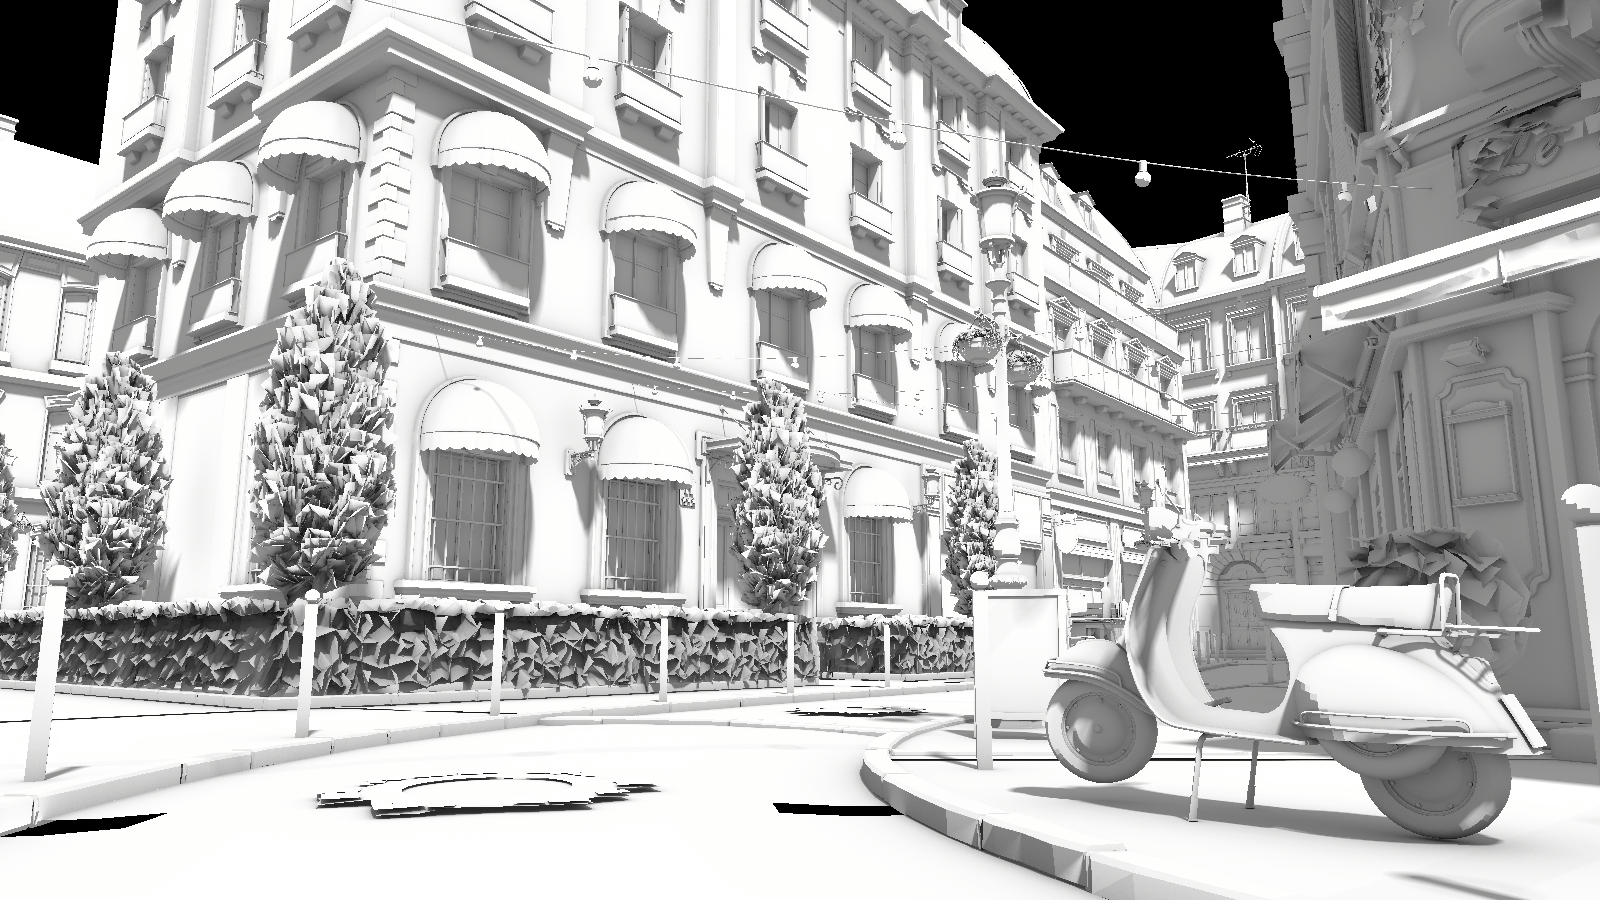
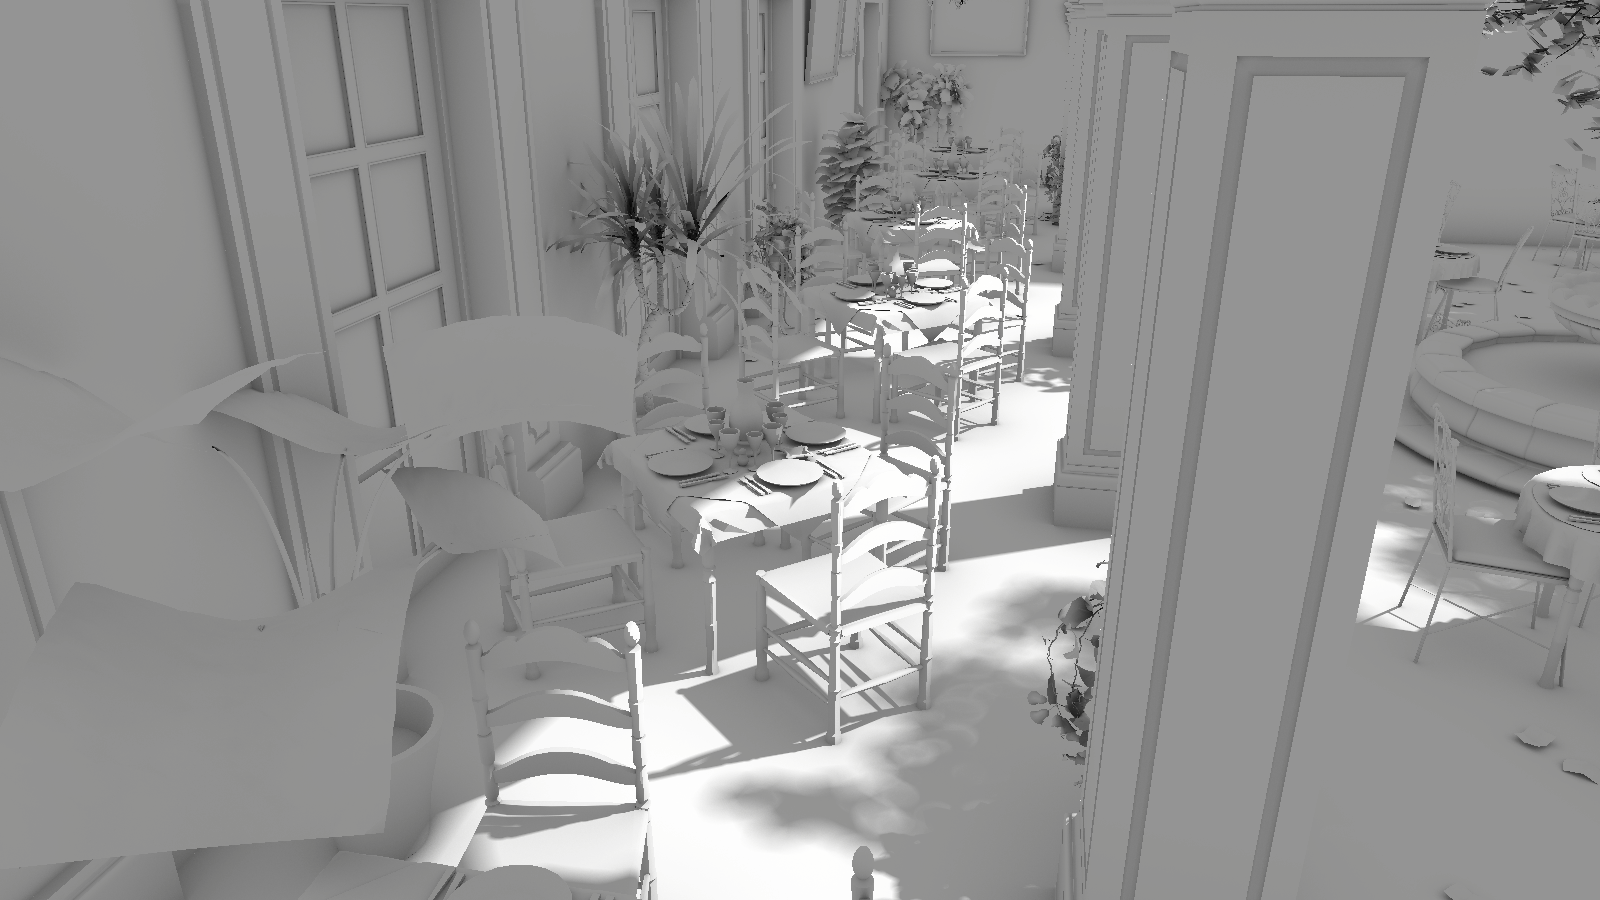
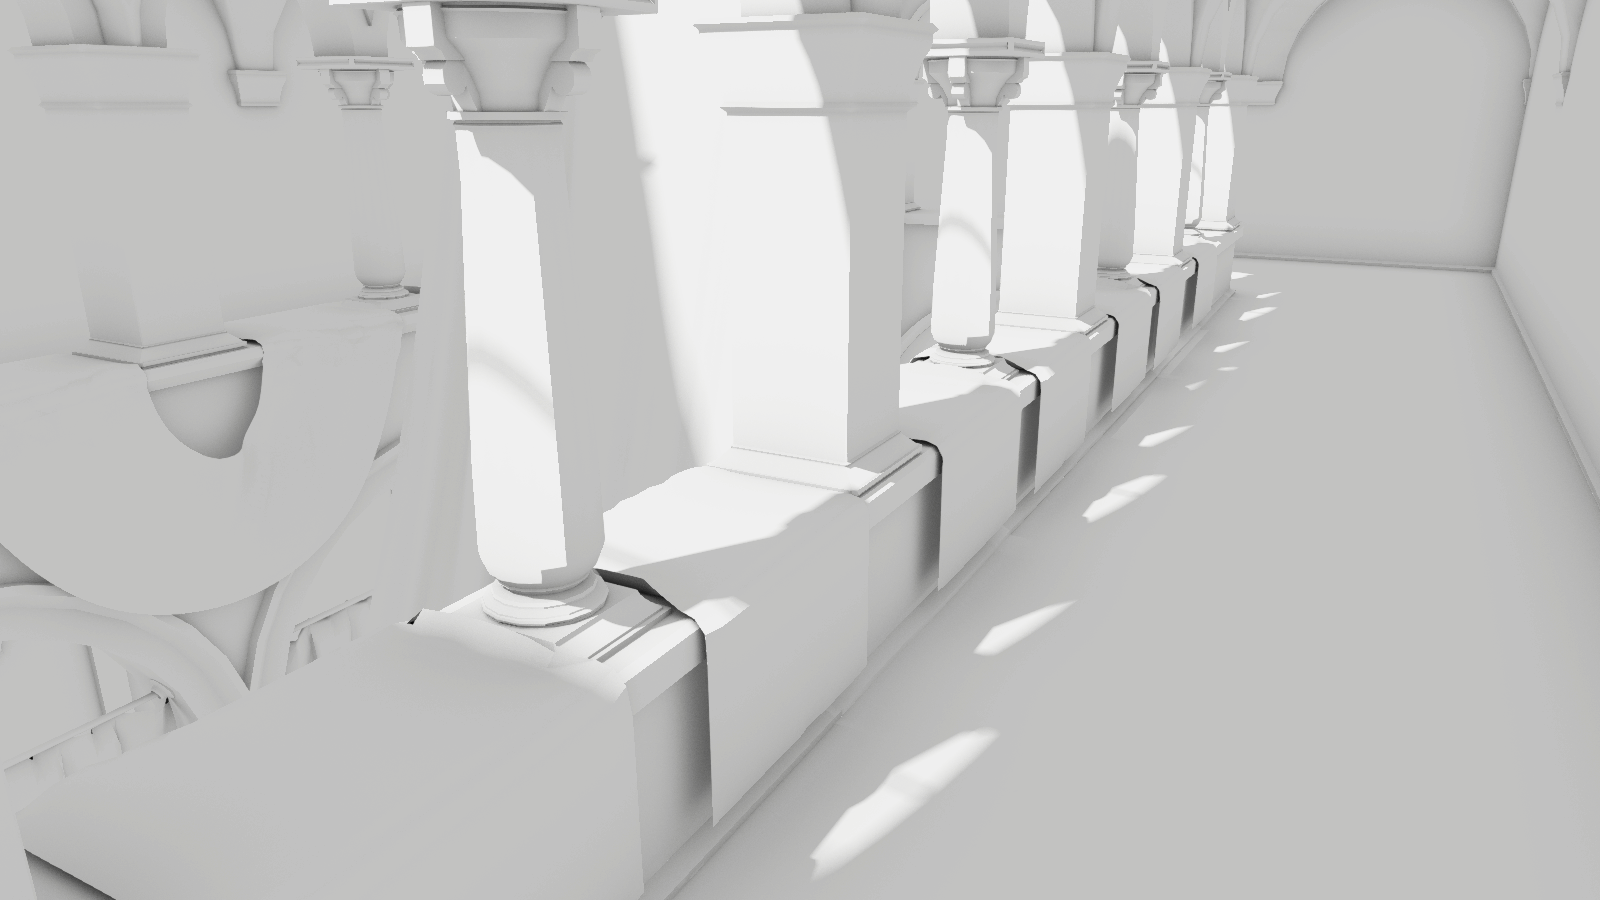
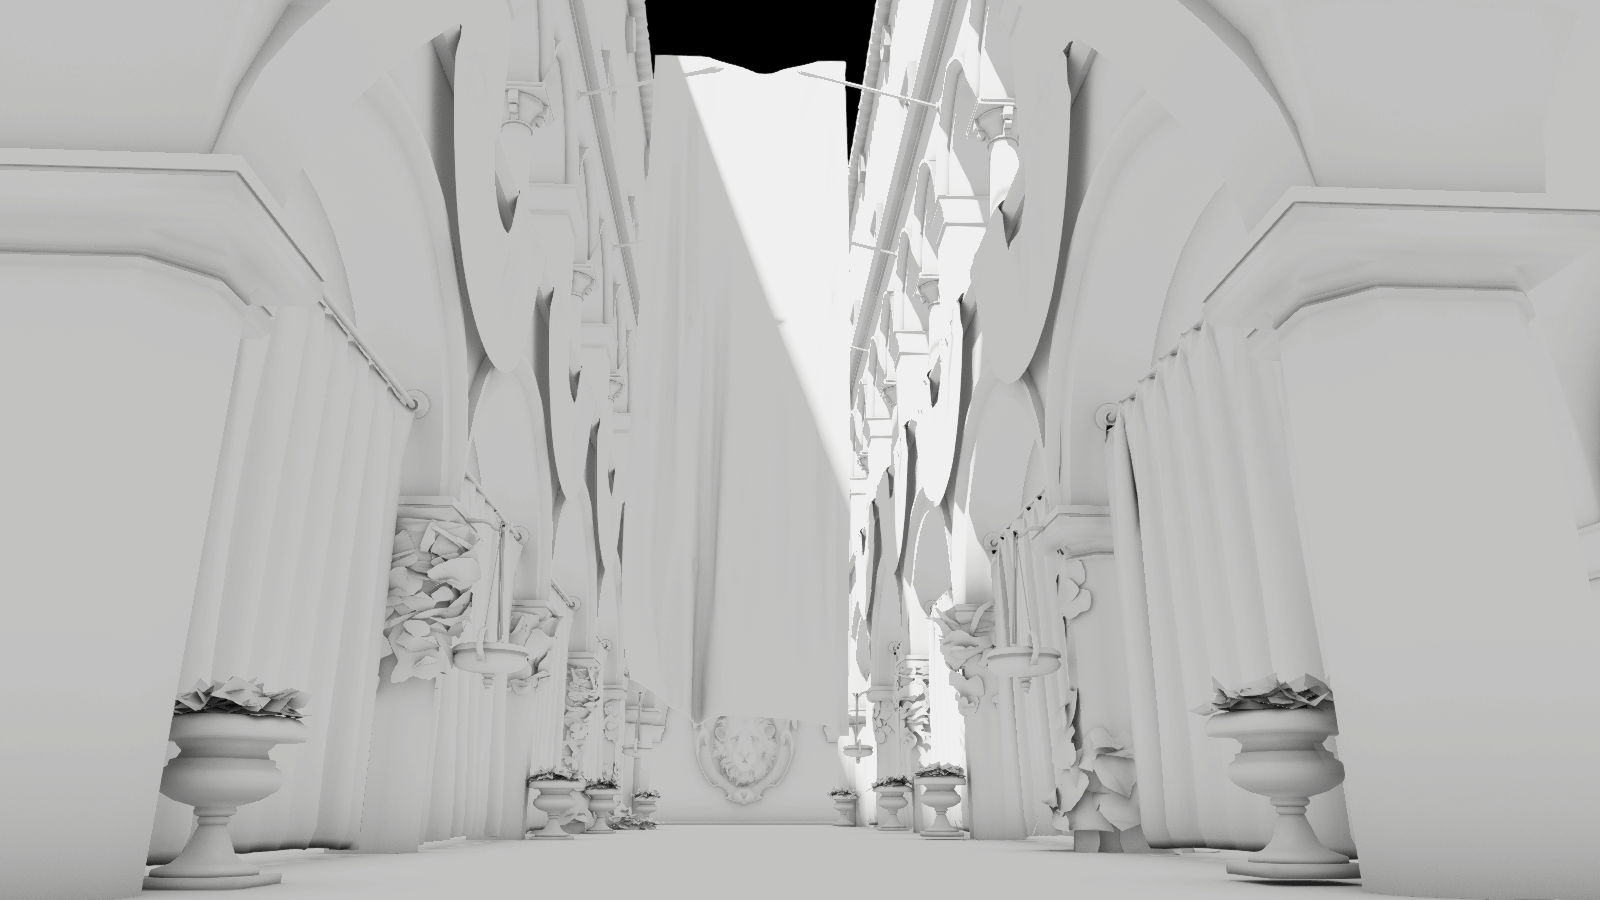
The San Miguel and Amazon Lumberyard Bistro scenes were acquired from Morgan McGuire’s Computer Graphics Archive.
The Sponza model was provided in the MiniEngine framework by the Microsoft Minigraph team. DirectX Graphics Samples on Github.
The San Miguel model is provided under the CC BY 3.0 license. © Guillermo M. Leal Llaguno.
The Amazon Lumberyard Bistro model is provided under the CC BY 4.0 license. © 2017 Amazon Lumberyard.
Project repository: https://github.com/SeppahBaws/DirectX-Raytracing.
